How to update camera thumbnail images on the ProConnect NVR
The ProConnect user interface can be configured to display a camera's screen shot image as a thumbnail next to the camera's name in the Live and Search menus.
- Navigate to Setup > Systems Settings > Cameras > General Configuration, and click on the Multi-Camera Edit tab.
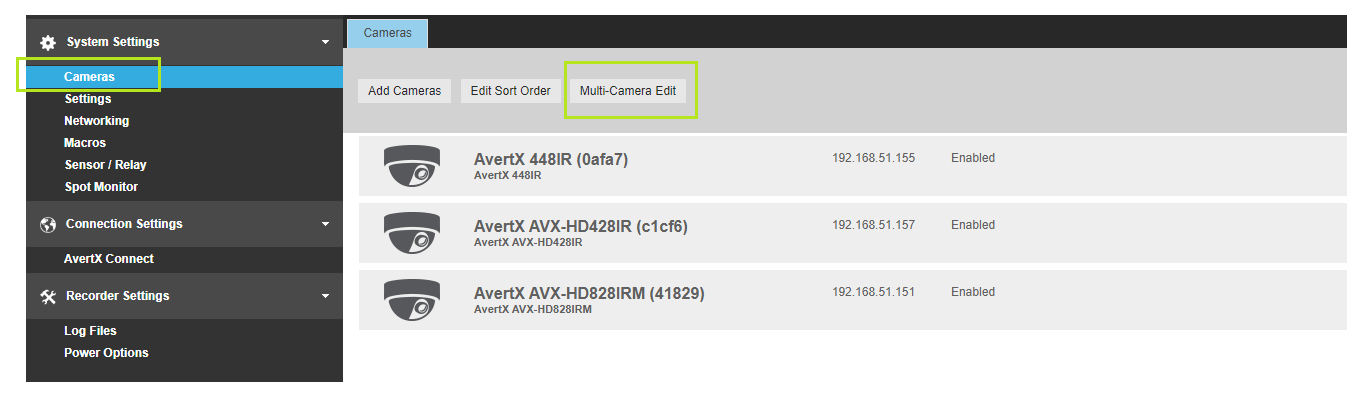
- Now click on the "Select All" link or individually select the cameras you wish to see a thumbnail for above the camera's list:

- Choose the "Update Thumbnail" option on the lower left of the window.
- Once the thumbnails are displayed/updated, click on the Close button on the far right.
How to troubleshoot if thumbnails don't display or update
If you're attempting to pull thumbnails for a camera(s), and it will not update, then the camera may be disconnected or it's failing to obtain its high bandwidth stream information. Thumbnails are not live pictures and will need to be updated manually as needed.
Thumbnails are only pulled from the High Bandwidth resolution stream of the camera. To verify if the high bandwidth stream is being pulled, do the following:
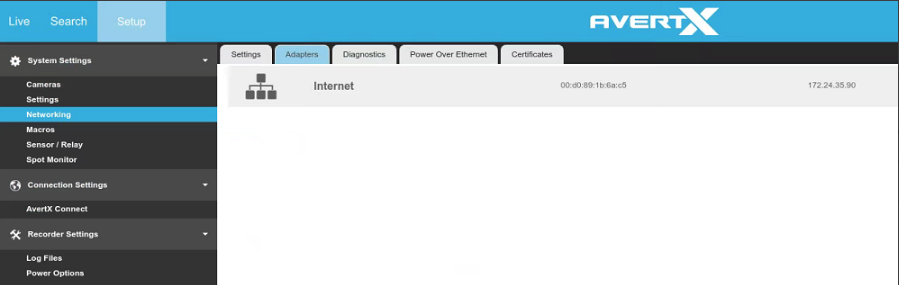
- Verify that the camera is pulling its high bandwidth stream under the Setup > Systems settings > Cameras > Camera List > respective camera's 'Live / Recording' tab.
- If the High Bandwidth stream is Disabled or no settings are present, click on the Edit button to set camera's settings.
- If no settings are available to Edit, verify that the camera is Enabled and set-up properly by clicking on the General tab and review the camera's settings.

