How to Setup and Troubleshoot Audio on a ProConnect NVR
Audio is available through cameras that have audio features and hardware capabilities. Audio communications across a ProConnect network video recorder (NVR) is accomplished through the AvertX Connect mobile app.
Audio communications is not available directly at the NVR console. Video clips with recorded audio can be exported as .mp4 files through the NVR's Search function, and played through a computer media player.
NOTE: We recommend consulting local and regional laws in the appropriate areas regarding audio recording. Many areas have laws restricting or prohibiting audio recording in some or all locations.
To configure and enable audio:
- Log into the ProConnect recorder
- Go to the Setup>Cameras menu
- Click on the camera profile
- Click the "eye icon" next to the password box to reveal the camera’s password
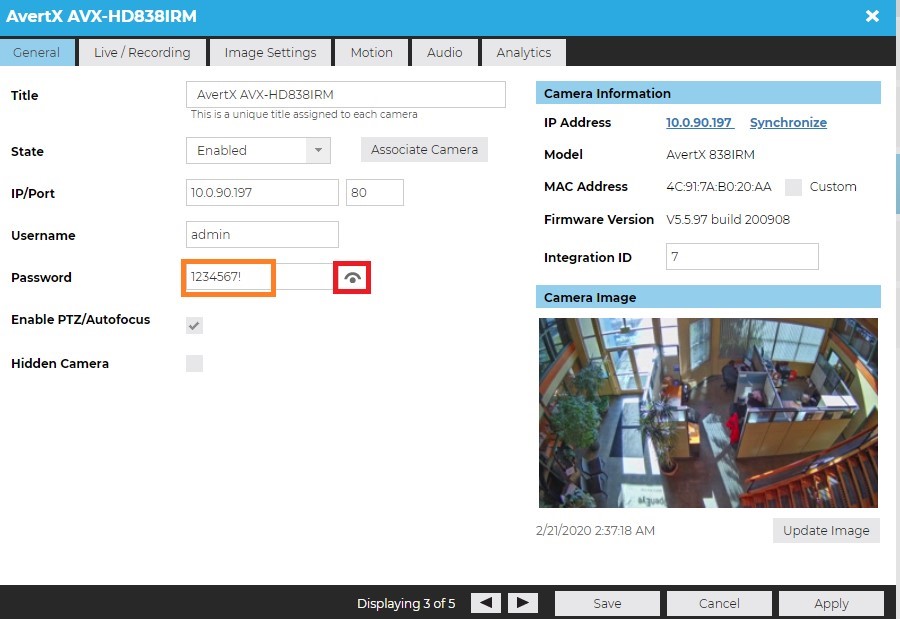
- Take note of the password or highlight and copy with CTRL+C
- Click the IP address of the camera on the upper right side to access the camera’s user interface
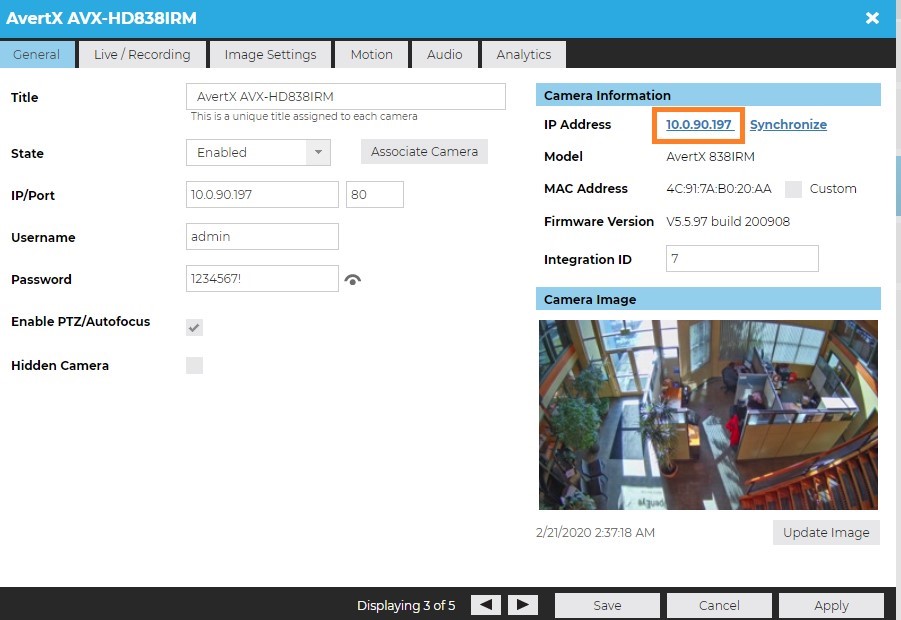
- Log into the camera’s internal administrative user interface (UI) with the username account and associated password
- For HD458 and HD848 cameras, click on Setup > Streaming Settings > Audio to access the audio settings

Glossary for the different settings:
Parameters | Explanation |
Audio Input | No audio data will be encoded when ‘Off’ is selected. Note: It is recommended to select Off if you do not need audio. This can improve device performance. |
Access Mode | Currently only Line/Mic. |
Input Volume | Slider adjusts input volume. |
Audio Compression | Two options: G.711U, G.711A Which one to use is usually determined by where you live. North America usually uses the G.711U whereas Europe usually uses G.711A. |
Sampling Rate | Currently only 8KHz |
Noise Suppression | Used to reduce repetitive noise. Noise suppression is enabled by default. |
Audio L | Enabled for the internal microphone by default. |
Audio Output | This will change if the output goes through the internal speaker or an external speaker, if one is connected. |
9. After adjusting settings as needed, close the camera UI and go to the ProConnect’s Audio tab in the camera’s profile under Setup>Cameras>Audio:

10. Change these Audio Options as applicable:
- Disabled will turn off all audio from the camera
- Record will include the audio in the recorded video and live
- Live Only doesn't record.
- 2-way Audio offers live audio communications through the AvertX Connect mobile app
11. To test that the camera is recording audio, you can export a clip, making sure to check the Include Audio box, or you can listen to the live audio using the AvertX Mobile App.
In the AvertX Mobile app, connect to the recorder and tap on the camera to view the camera in one camera grid layout. Tap the Audio button in the lower left-hand corner.
If you still cannot hear audio from the camera, reboot and update the ProConnect recorder, and then test it again in the AvertX Connect mobile app.

