How to assign a static IP address to a ProConnect NVR
ProConnect NVR IP address assignments are configured by default to use the Dynamic Host Configuration Protocol (DHCP). Assigning a valid static IP address to a ProConnect adapter can be helpful when troubleshooting or when the NVR is in a restricted network environment.
- Login to the recorder using your admin account.
- Select 'Setup' on the top bar of the NVR's user interface (UI) screen
- Navigate to Networking on the left side of the screen.
- Select the Adapters tab at the top to access/manage the network adapters:
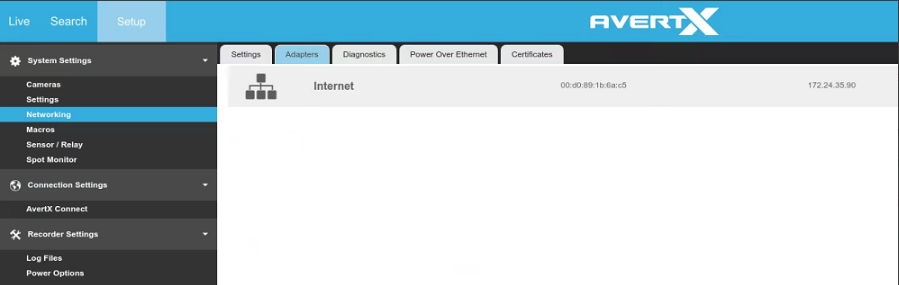
- Double-click on the specific adapter you want to modify (some NVR models show 2 adapter options).
- Select the Static option to configure a static IP address.
- Enter the required information, including the IP address, subnet mask, default gateway, and DNS server:
Note: If configuring the Camera Adapter, only enter an IP Address and Subnet Mask.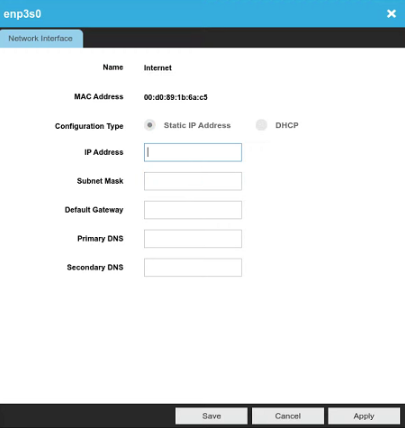
- Important: Double-check the entered values for accuracy and ensure they match the desired configuration.
- Save or Apply the changes.

